PDF Publication Title:
Text from PDF Page: 099
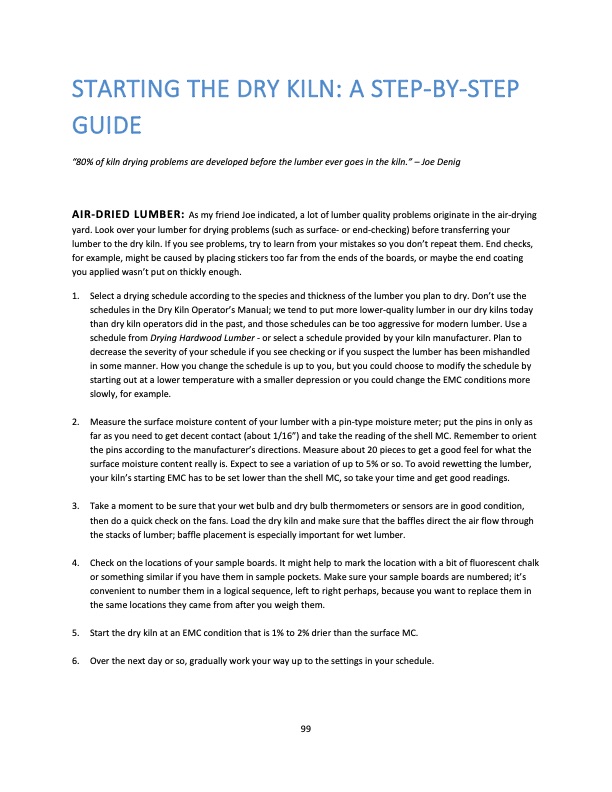
STARTING THE DRY KILN: A STEP-BY-STEP GUIDE “80% of kiln drying problems are developed before the lumber ever goes in the kiln.” – Joe Denig AIR-DRIED LUMBER: As my friend Joe indicated, a lot of lumber quality problems originate in the air-drying yard. Look over your lumber for drying problems (such as surface- or end-checking) before transferring your lumber to the dry kiln. If you see problems, try to learn from your mistakes so you don’t repeat them. End checks, for example, might be caused by placing stickers too far from the ends of the boards, or maybe the end coating you applied wasn’t put on thickly enough. 1. Select a drying schedule according to the species and thickness of the lumber you plan to dry. Don’t use the schedules in the Dry Kiln Operator’s Manual; we tend to put more lower-quality lumber in our dry kilns today than dry kiln operators did in the past, and those schedules can be too aggressive for modern lumber. Use a schedule from Drying Hardwood Lumber - or select a schedule provided by your kiln manufacturer. Plan to decrease the severity of your schedule if you see checking or if you suspect the lumber has been mishandled in some manner. How you change the schedule is up to you, but you could choose to modify the schedule by starting out at a lower temperature with a smaller depression or you could change the EMC conditions more slowly, for example. 2. Measure the surface moisture content of your lumber with a pin-type moisture meter; put the pins in only as far as you need to get decent contact (about 1/16”) and take the reading of the shell MC. Remember to orient the pins according to the manufacturer’s directions. Measure about 20 pieces to get a good feel for what the surface moisture content really is. Expect to see a variation of up to 5% or so. To avoid rewetting the lumber, your kiln’s starting EMC has to be set lower than the shell MC, so take your time and get good readings. 3. Take a moment to be sure that your wet bulb and dry bulb thermometers or sensors are in good condition, then do a quick check on the fans. Load the dry kiln and make sure that the baffles direct the air flow through the stacks of lumber; baffle placement is especially important for wet lumber. 4. Check on the locations of your sample boards. It might help to mark the location with a bit of fluorescent chalk or something similar if you have them in sample pockets. Make sure your sample boards are numbered; it’s convenient to number them in a logical sequence, left to right perhaps, because you want to replace them in the same locations they came from after you weigh them. 5. Start the dry kiln at an EMC condition that is 1% to 2% drier than the surface MC. 6. Over the next day or so, gradually work your way up to the settings in your schedule. 99PDF Image | HARDWOOD DRY KILN OPERATION A MANUAL FOR OPERATORS OF SMALL DRY KILNS

PDF Search Title:
HARDWOOD DRY KILN OPERATION A MANUAL FOR OPERATORS OF SMALL DRY KILNSOriginal File Name Searched:
FOR128.pdfDIY PDF Search: Google It | Yahoo | Bing
5,000 BF Shipping Container Lumber Dry Kiln For Quality Lumber The 5,000 BF container kiln consists of one 40 foot high-cube aluminum shipping container... More Info
Shipping Container Lumber Dry Kilns by Global Energy Global Energy designed and developed the container kiln back in 1991. The purpose is to give access to portable sawmill owners, furniture makers, and small business the value added profit of dry kiln lumber and quality hardwoods... More Info
Vacuum Kiln Conversion Kit for Lumber and Wood Dry Kilns Convert your existing conventional dry kiln into a fast drying vacuum kiln. Similar to vacuum bagging in the boat building and aircraft industry, we have come up with a proprietary process which allows you to build a very simple vacuum kiln at a fraction of the price, and without the intensive conventional metal chamber structure... More Info
Vacuum Pump Cart System for Bagging Clamping Wood Drying and more Vacuum Cart with 2HP Pump and Dual Pistons with multiple multiplex vacuum ports and liquid reservoir... More Info
Vacuum Bagging Basics Vacuum bagging is a method of clamping, which has traditionally been used in the composites industry, but can also be used for vacuum drying materials, including wood products... More Info
| CONTACT TEL: 608-238-6001 Email: greg@globalmicroturbine.com | RSS | AMP |